Therefore, in this post I will show you how I drafted the front and the back, and we'll see if the muslin looks good.
First things first. Here is what I am going for - this time it scanned much better.

Hopefully the sketch is self explanatory. I am not sure if what I am calling the "inverted U shape yoke" is really a yoke, but this is the cut I wanted. Also, I think I am not going to have the gathers in the front, I think I will change it to a pleat.

Step 1: Modify back shoulder dart. In the last challenge, I showed how to move the whole dart into the arm opening. This time I will only move half of it into the arm - I don't want the arm opening to be to wide - and the half will stay in the shoulder as ease. So, take the back bodice, mark points 1 and 2 and then 3 halfway between 1 and 2. Also, draw a horizontal line from the dart tip to the arm opening. Trace counterclockwise from 1 along the shoulder, neck, down the midline, along the hem, up the side seam and the arm opening to the dashed horizontal line.

Step 2: Move the dart. Rotate the bodice counterclockwise until 2 (right dart leg) on bodice matches 3 on the paper below. Trace from 3 clockwise along the shoulder and down the arm opening to the dashed line.

Step 3: Draw shoulder and arm opening. First measure the opening of the dart moved to the arm opening (see pic above). In this case it is 1 cm. Remember that because you will need it for the front. Smooth the arm opening. Draw a new neckline as you wish - I took 3 cm off the shoulder line and 2 cm down the midline. Draw a new shoulder line from the new neckline to the tip of the shoulder. the wiggly line below the shoulder seam represents ease (because half of the original dart is still there - in this case about 1 cm - which will make the back shoulder seam that much longer than the front shoulder seam). Almost forgot - draw in the yokeline 1.5 cm below the arm opening on the sideseam. This number in not completely arbitrary - I actually first drew what I wanted the yoke to look on the front - it came to be 1.5 cm below the arm. Yokeline is parallel to the seam.


Step 5: Draw front yoke. I wasn't sure at this point how I will do this yoke, I just new it's finished shape, so I move the bust dart into the waist so I can draw the yoke as I want it. (I traced the front bodice on a separate paper, cut out the bust dart, cut along the line from BP - bust point - down to hem line; closed the bust dart, taped it, and opened the waist dart - see pic above). I started the yokeline 14 cm down from the neck and then curved it slightly towards the side seam, 1.5 cm under arm. One thing I did not mention before is that I did not want any bust darts in the design, I was hoping to "hide" the bust dart in the yoke. That's why I needed the yoke to be close to the bustline - this might be more clear in the steps below. Before the next step, draw in a new neckline (i took in 3 cm at the shoulder and lowered neckline 4 cm in the front).

Step 6: Redistribute bust dart. As I said, I did not want the bust dart anywhere in the design, and right now it is in the waist. I could leave it there, leave it opened, but I did not want an A-line tunic. So I needed to move it. First, I need to move some of it into the arm opening. I cut along where the original bust dart was, measured 1 cm (this comes from the back - it might not be 1 cm for you, it is the value measured at the arm opening in the back) opening at the arm and opened the bust dart this much. This will not be sewn it, this will blend into the design. This closed the waist dart a bit, but not all the way. Before the next step, smooth the yoke over the opening you just made - see pic below.

Step 7: Close the waist dart. We will move the dart into the shoulder. Draw a line from the BP to the mid of the shoulder. Cut along this line to, but not through BP. Open until the waist dart closes.

Step 8: Take in side seams. OK, I forgot about this one. From previous challenges, I learned that if I don't take in any of the waist darts, the finished pattern tends to have too much ease in the bust. So, here I will take in 1 cm at the side. Don't forget to do the same on the back bodice.

Step 9: Finish yoke. Cut along the yokeline. The yoke now consists of two parts - simply tape them together to get the yoke. The bottom part... there is that little dart still there. Just put some paper under and smooth over. That little dart, the leftover from the shoulder dart is small enough that it can be blended in. It is about 1 cm wide at the yokeline, so it will be treated as ease - just pull a little bit when sewing to the yoke, and things should be fine. That is exactly the reason why I needed the yoke to go so low, close to the bust line, so I can "blend" the bust yoke into the design and have no darts to sew!

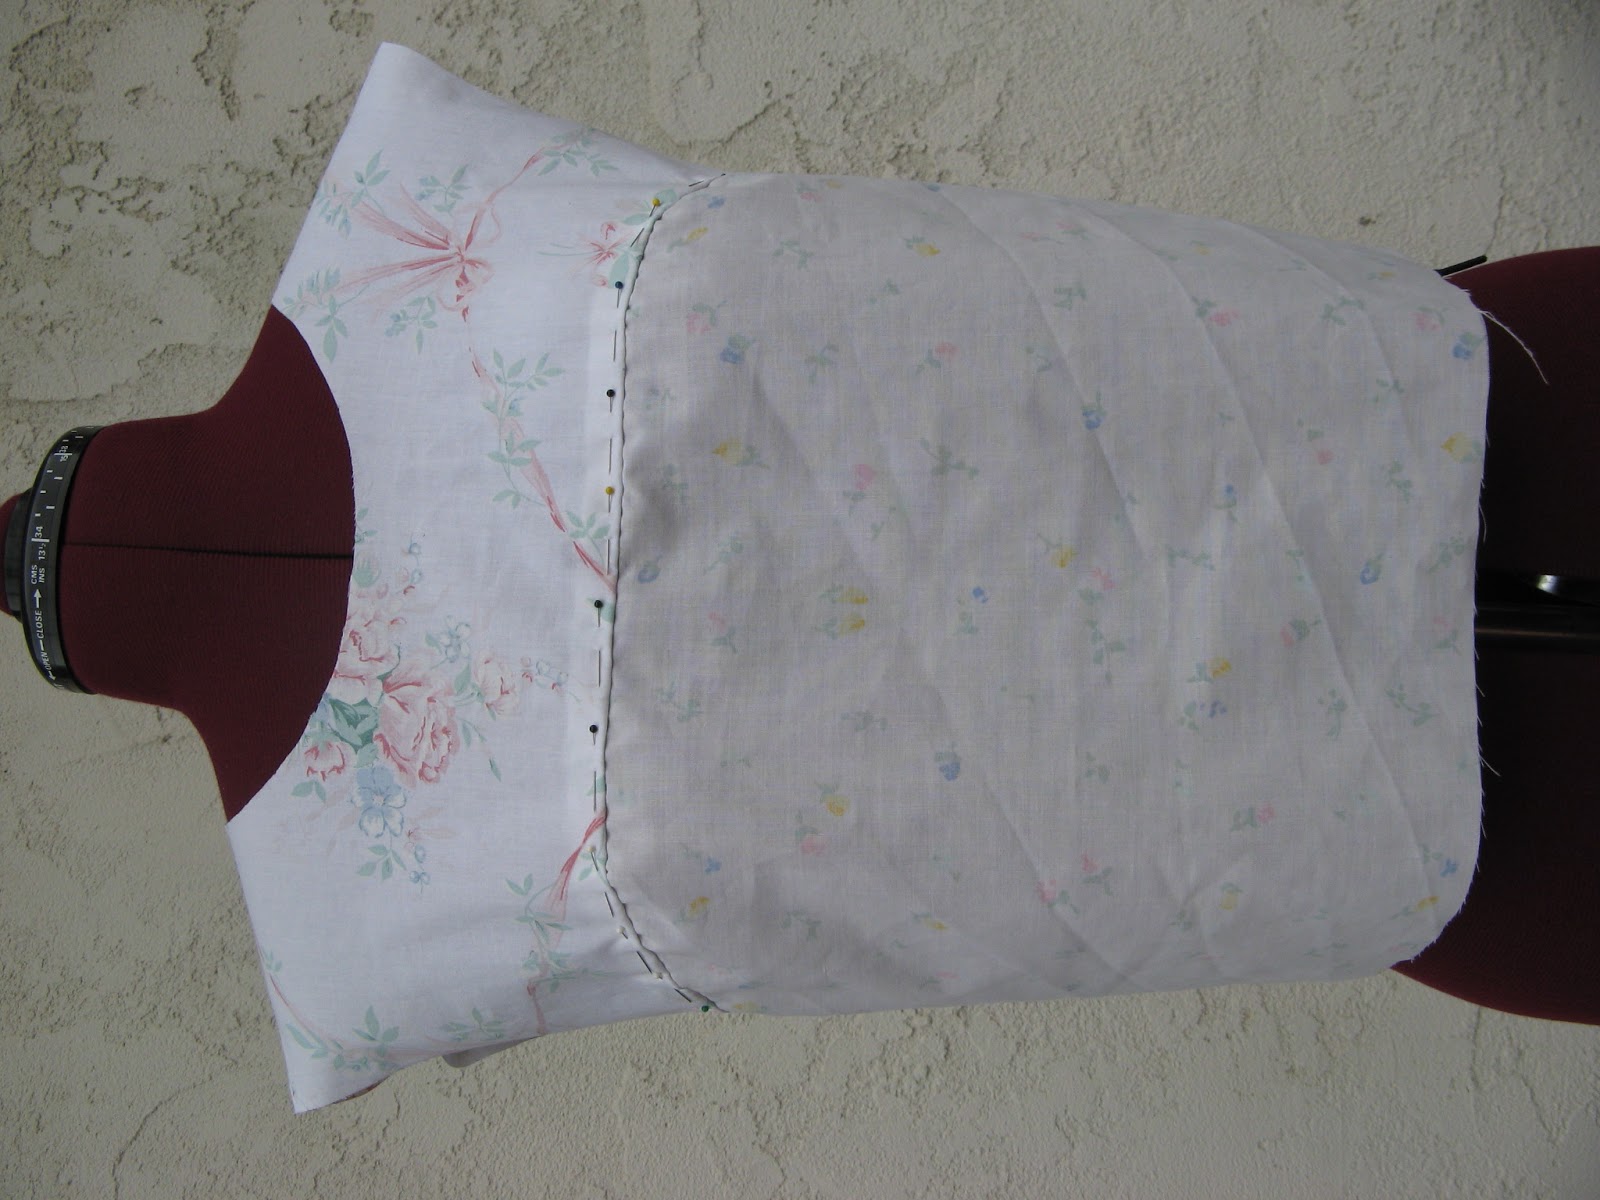
That's it! Well, everything except the sleeves. Here is the muslin.

Dare I say - yes!!! It fits perfectly. I think no modifications are necessary. That makes me very happy.

And the yoke is exactly the way I wanted it to be.

And now the SLEEVE...
Previous Challenge 7 posts:
Challenge 7:: Faros tunic
This is a beautiful yoke line--I really like those that slope upward, how the dart is hidden in them. I've just browsed some of your other posts and really like seeing drafting in action. I'm curious--how did you digitize your sleeveless patterns, or were you starting out with a digital copy?
ReplyDeleteThanks!
ReplyDeleteFor the digital version of the pattern I am using a free 2D CAD program called CADuntu, which is now LibreCAD (http://sourceforge.net/projects/librecad/) and I basically do the same steps as I do on paper - I start with the bodice and modify it to get the pattern. I never actually drew the basic bodice by hand, I only have in in digital format, and I print it when I need it.