Showing posts with label kioko blouse. Show all posts

11/3/11

Week 6:: Kioko blouse: finished

This one gave me some trouble: drafting, sewing, ironing AND photographing... Well, the lack of a good spot for taking photos (no light in the house, too bright or weird shadows outside) is to blame for the last one, but seriously, nothing really went smoothly.

However, it's finished and I am very pleased, after all the trouble, how it turned out.
From this (sad) illustration (it always looks better in my head) to the finished blouse (tunic really, but let's not be picky).

Really, the only deviation from the original idea is the elastic in the heigh waist seam. I have never done this before, and personally i dislike elastic and making casing for it, and then trying to put it in, and... This time I actually sew the elastic into the seam allowance, but gently pulling on it while sewing it down with a zig-zag stitch. I pulled a little more around the bust where I wanted a tighter fit, and a little less anywhere else. I thought I would have to rip it for sure, but the first try turned out great. Then I sewed the seam allowance folded toward the top - which hides the elastic and makes the inside look all neat... I like it that way.


I did not make any changes from the pattern, however, I did have to add one additional piece I have not mentioned in the previous post. The facing for the neck. Yes, you can barely see it in the pic above. Good that that one is easy. Simply trace around the neck and then 3 - 3.5 cm down the yoke seam and the seam under the bust. It will basically be a 3 - 3.5 cm wide strip.


I prefer taking pictures outside, but the soon today was sooo bright, and against the white wall + the shadow of the late morning sun. It just did not work. So the pics are from inside the only room with some decent morning sun. The fabric is a blend, off white with delicate pink or maybe light orange stripes (made of tiny dots). Nightmare to iron. I wonder why, blends are usually forgiving.


Overall, I like it. The choice of fabric, hmmmm, a bit boring maybe, even though I do still like the fabric itself, so cool and crisp. Would this work better in a colorful chiffon or similar thin fabric? I am yet to try chiffon. Actually I am terrified of it. So slippery. And would my machine try to eat it up?

I would love to hear comments, suggestions...


11/1/11

Week 6:: Kioko blouse: drafting and muslin - Part 2

Hello! It's been a while. It's just been one of those weeks... unplanned meetings (waste of time, but that's a whole different post), Halloween preparations, a short out of town trip (which was very, very nice), feeling a little bit under the weather (which means a bit more resting, a little less work)... you get the picture.

Which made me think, to 'rethink' the idea of week challenges. With the designs getting a more difficult to draft and more complicated to sew, weekly challenges, could be just a bit too... challenging. Thinking I could do them in a week might have been a bit too optimistic. I will still do the challenges, but instead of trying to kill myself and complete them in a week, I will give myself two weeks. I will have to change the titles too... work in progress, right.

But let's not waste any more time and go back to this top... In this post I will show you the minor changes I made to the pattern I made last week and all the other modifications I made to finish the design...


Step 1: Shorten sleeves. First things first. I thought the sleeves were a bit too long, so I shortened them by 2.5 cm. Make sure you draw a line parallel to the sleeve opening (the front is not a straight line). I did not throw these away - I will reuse them later for a pattern for a band around the arm opening.


Step 2: Tighten neckline. The neck was gaping a bit - because it was so deep. So, to tighten it and make it lie flat against the chest, measure 8 cm from the bottom of the V-neck (I measured that on the dress form) and then draw a line from BP to the neckline at that point. That will be the "bottom" leg of the dart we are drawing. The "top" leg is about 0.5 cm from the "bottom" measured at the neckline. Now we need to close that dart and move it to the waist. Therefore, cut that little dart we just drew. And cut from BP (but not through BP) down to the waistline. Close and tape the neck dart and open the waist dart (I put some paper under the pattern and taped it). Also, don't forget to smooth the neckline.


Step 3: The yoke. I decided to do a yoke, after I decided to do the shoulder gathers. I just thought gathers would not look so good coming from the shoulder seam - too high. OK, so, put the front and back together at the shoulder (tape together) and then draw the back yokeline about 7.5 cm down from the back neck, parallel to the hem (or waistline). The front yokeline should be parallel to the shoulder seam, 3 cm down. One more thing to do here... as I was learning about kimono and french sleeves, I noticed than in all of the variations of those, the shoulder seam is lowered a bit away from the neck. I am guessing to remove the bulk at the shoulder. The sleeve is wide enough, no need for the extra fabric. Well, I couldn't do that at the shoulder seam because of the yoke, but I can do it at the yokeline. See the second pic above. Measure 2 cm down from the yokeline at the arm opening and smooth the seam down from the original arm opening from the sloper (see the red lines). Do not cut the yoke out yet.


Step 4: Shorthen arm band. If you are not going to be doing bands on the arm openings, you can skip this step. Otherwise, we have to shorten the bands by the same amount we took at the yokeline in the previous step. Tape the bands together at the shoulder, and put them against the font and back patterns from the last step. Draw the lines on the bands at yokelines and the new lowered seams. Fold the bands at these lines and tape.


Step 5: Prepare for moving waist dart into shoulder seam. In first picture above you can see I outlined the waist dart (ignore the red lines inside). The waist dart was created in previous steps when we moved the bust dart and later the neck dart. This will now be moved into the shoulder (actually yokline). Mark point 1 at the midpoint of the sloper shoulder and points 2 and 3, 2.0 cm on each side of 1. Draw lines from BP to points 1, 2 and 3.


One more thing... mark the gather points (the stars in the pic above) about 1.0 cm from points 2 and 3. Then, match the gather points at the yoke.


Step 6: Move the dart. Cut out the waist dart, close and tape. Cut along the three lines from yokeline to BP. Spread them equally and tape on paper (see second pic above). Smooth the yokeline.


Step 7: Draw the high waist line on front. This one is going to go from the tip of the V-neck, under the bust and to the sideseam at the notch we drew in in the previous post (it's 10.5 cm down the sideseam from underarm). I did this without measuring. The point under BP I choose (eyeballed) to be 7.5 cm under BP. Then I connected the three points with straight lines. No need for curves, I hoped.


Step 8: Add length. Use extra paper and add length to the front and back patterns. I wanted this fairly long so I added 27 cm from the waistline. Since we will be adding some flair too, divide the width of the front and back in 4 pieces. Draw the lines from the high waist to the hem. Cut along the high waist line.


Step 9: Add flare. Do this for both back and front (pictured for front only). Cut along the three lines from hem to the top (but not through). Spread to add flare as you wish. I added 2 cm at each line - 6 cm in all. 

That's it. I forgot to picture all the pattern pieces together, but you will have: the yoke, back and front top, back and front bottom, and arm band. You will also need facing at the neckline.

Here is muslin (don't let the pattern distract you! also, excuse the flare, it was so bright, I had to photograph in shade but against the sun).I did not cut the armbands.


Overall, it was good. The sleeves look good, the drape is fine, from front, side and back.


The neck fits very well, no gaping. And the gathers look fine too.


The only problem was that it looked too wide under the bust, at the high waist seamline. But I couldn't take in any more, because this is supposed to go over head. So I decided to go with some elastic in the seam. 


So no pattern modifications... we'll see how it turns out.

Previous Week 6 posts:
Week 6:: Kioko blouse
Week 6:: Kioko blouse: drafting and muslin - Part 1

10/27/11

Week 6:: Kioko blouse: drafting and muslin - Part 1

Remember how I said in the last post I wasn't feeling the sleeves? Well, with all the problems I had with these kimono sleeves, I would have been better of just setting in some regular sleeves. Yes, I had issues. Many. I started drafting this top on Tuesday, but scraped everything, including all the pics I too of the process. It just didn't look good. I tried drawing the full kimono sleeves and then shortening them. Did not work. I tried doing the French sleeve and then lengthening. Nope. I even looked at some kimono tops in the Mrs Style magazines I have. If you've never seen one - these magazines basically include very detailed drawings of how to modify your slopers to get to a particular design. I tried doing one, but since my design was different, it did not work. 

Or maybe my problem was overthinking it. I tend to do that. But, anyway, I tossed everything away and started from scratch. And here is what I came up with.

First, a (very) rough sketch of what I want my top to look like. Excuse my poor illustration skills - I can draw a neck opening or any kind of other curve freehand, but when it comes to drawing a sketch like this - it comes out not so god. Oh, and it seems that pencil does not scan well. Ah, you live and learn. So... deep V neck, yoke, high waist cut and some flare below. And some gathers at the shoulder, under the yoke.
Step 1: Move shoulder dart. In this case it is actually easier to start with the back. It will be easier to draw the sleeve. You will get a better idea when I move to the front. In the back, we need to move the shoulder dart into the arm opening. Why? I don't want it at the shoulder, or the waist - the flare will come under the high waist seam. And the kimono sleeves like this need to be wider anyway or they will bunch up too much under arm. So take your back sloper, mark points 1 and 2 and draw a horizontal line from dart tip to arm opening. Mark point 3. and trace counterclockwise around sloper from 1 all the way around to point 3. Then, with a pin in the top if the dart, rotate sloper counterclockwise until point 2 on sloper matches 1 on paper. Mark point new position for 3. Trace around from point 1 to point 3. 


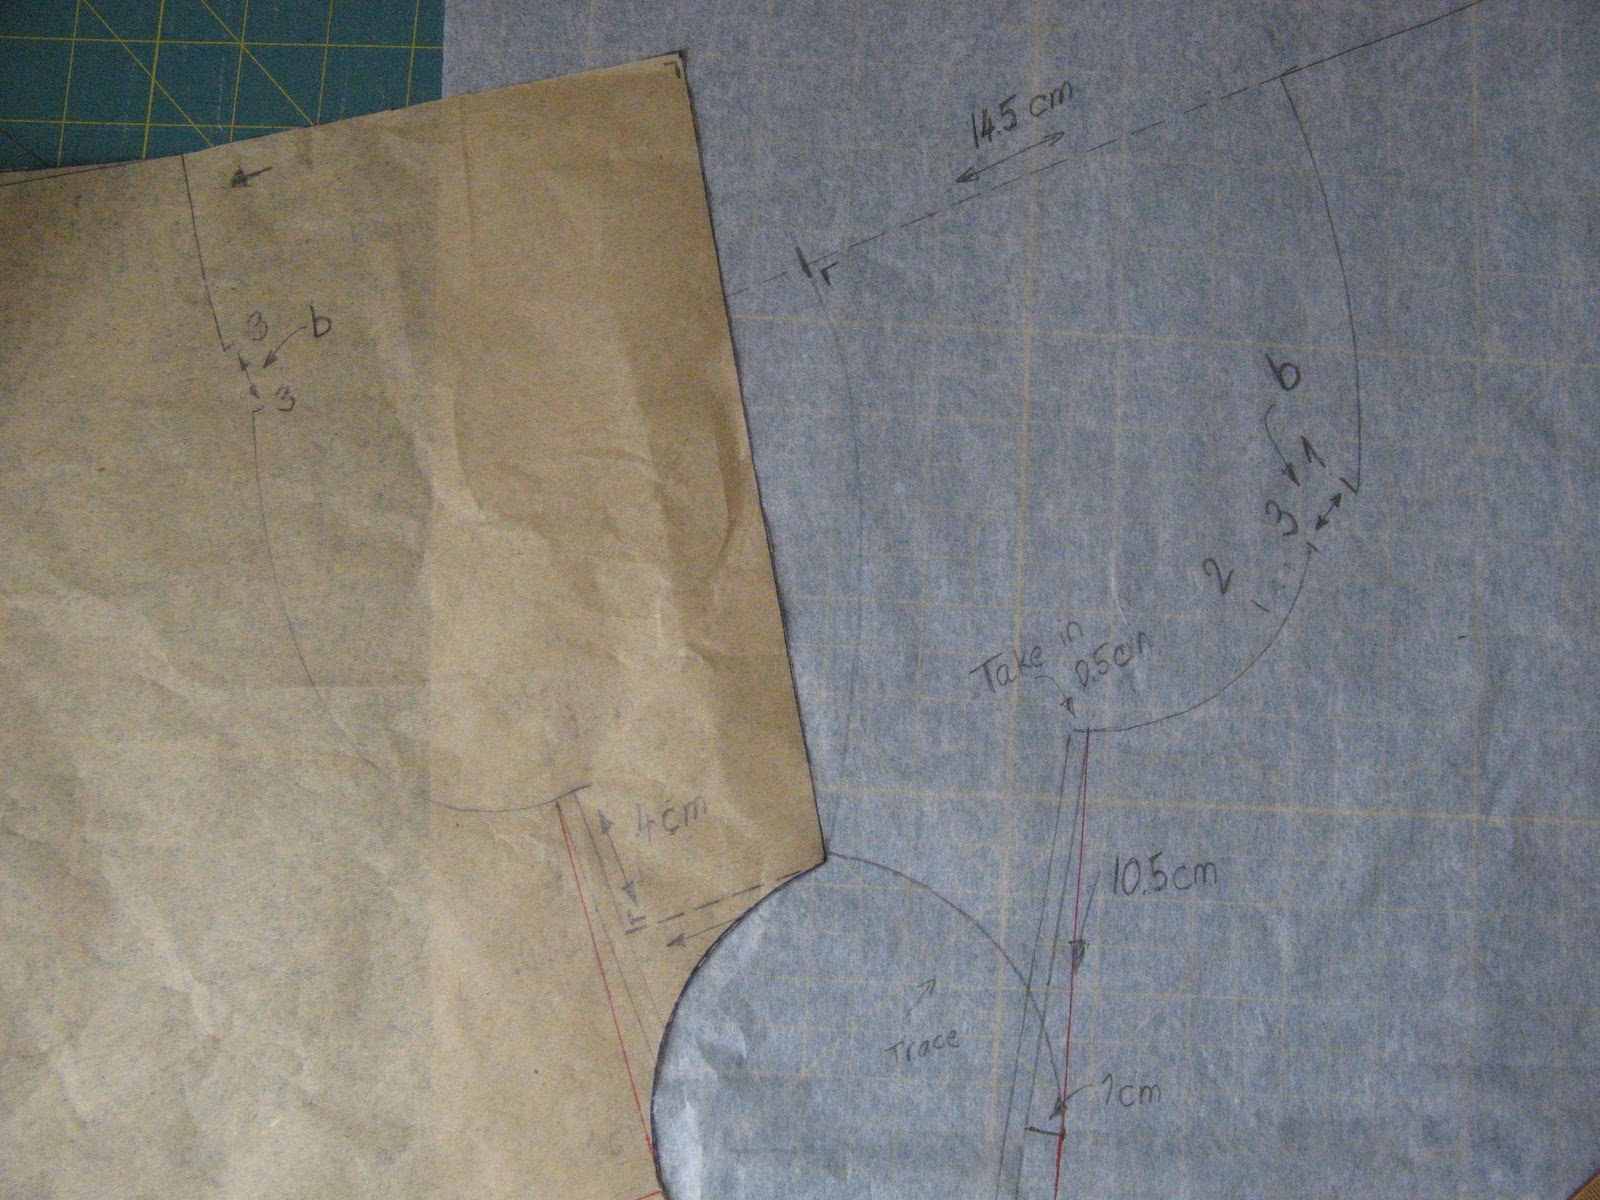
Step 2: Extend shoulder seam. Because we closed the shoulder dart, the shoulder seam is not straight anymore. Draw in a new shoulder seam and extend it out 14.5 cm. This is how much you want your sleeve to extend from the shoulder. This is largely arbitrary, but you cannot make it too small, not for this kind of a sleeve anyway, because you might have a problem when matching the front part. So. let's go with 14.5.


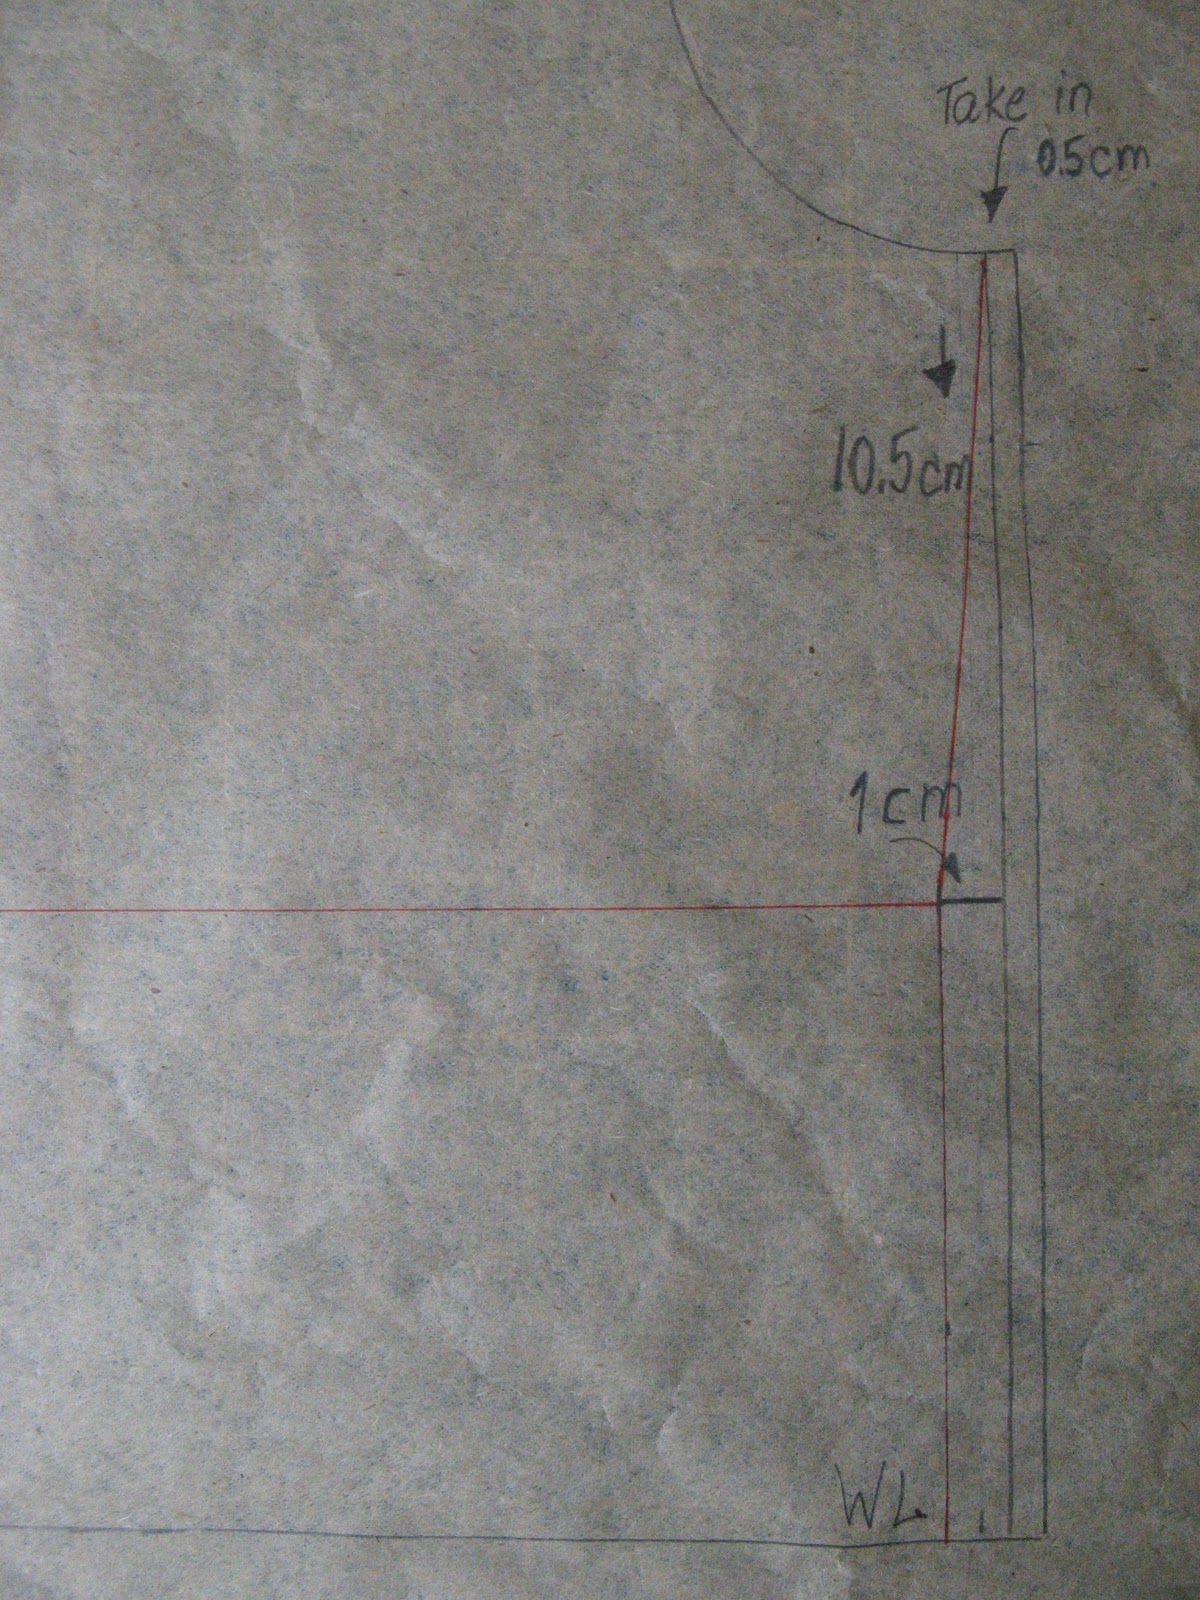
Step 3: Modify side seam. This top does not have closures, so it will have to be pulled over head. I still don;t want it to be too wide, so I will take in the same way I did in week 4 and 5 because I liked how those two draped on the sides. This might not work here, or might have to be changed, but it is a strating point. So, take 0.5 cm of the side seam, then measure 10.5 cm down he seam and make a notch 1 cm long. Connect as in picture for the new side seam (in red). Also make a horizontal line at the notch - this is where the seam for the high waist will be. But don't cut yet! That's for later.

Step 4: Finish the sleeve. At the 14.5 mark on the shoulder line, draw a line perpendicular to the shoulder line and extend below the start of the side seam. Then measure 4 cm down the shoulder seam. We are deepening the sleeve opening some more. Draw a line perpendicular to original side seam toward the line you drew from the shoulder. And you have the sleeve. Finish by connecting the shoulder seam and the tip of the arm opening by a curve to finish side seam. Measure distance "a" which you might need when drafting the front sleeve. Also measure distance "b" - the amount opened at the arm when the dart was moved - you will need this too for the front. In my case this was 2 cm. Cut the pattern out.


Step 5: Move dart to waist. So we are moving on to the front. Start by marking points 1 ad 2 - the dart legs. Then find point 3 which lies "b" distance from 1, or the top leg of the dart. Why? Well, since we opened the back arm by "b" we need to match this at the front too. The rest of the dart will be moved to the waist. Why the waist when I have gathers at the shoulder you might ask. Because I decided to do a yoke. So I want to cut the yoke first and then move the dart back to the shoulder. And it will be easier to draw the sleeve. The shoulder dart would be distracting. Also, mark point 4 at waistline, straight down from the tip of the dart. Trace clockwise, from point 1 to point 4. Then, with the pin in the tip of the dart, rotate the sloper clockwise until point two on sloper matched point 3 on paper. Trace around the sloper from 3 down and around to point 4.


This is what you should have at this point. Now on to the sleeve.


Step 6: Modify side seam. Same as for the back.


Step 7: Draw in the side seam curve. For the front we will start with the bottom of the sleeve, not the top. So, take your back and overlay over your drawing of the front so far. match the side seams from waistline to the notch (see pic) and then trace the curve. This is one place I got hung up before. Side seams have to match. Sometimes the curves are not the same (just think of princess seams) but the length has to be the same. Or you will not be able to sew them up.  In this case it is a simple back to front matching so I believe it is safe to go with the same curve. 


Step 8: Front shoulder seam. OK, this is where I had the most problems. If you simply extend the front shoulder line by 14.5 cm (has to match the back, right?) this is what you get: the arm opening is much smaller on the front than on the back. See the difference? Now, the openings are rarely the same, but this seemed wrong to me. Also, if you intended to draw arm opening on the right - it would have to be curved a lot!


But then I thought of something. Remember how we had to redraw the shoulder line on the back. Well, by doing that we effectively raised the shoulder line a little bit - we changed the slope of it. See the pic below. The ruler shows you where the shoulder seem would have been if we did not change it. See the arrow - that's 2 cm more!


So, it would be only right to match this on the front. So redraw the shoulder seam by raising it 2 cm (at the and of the original shoulder line) and then connect that point to the neck, extend by 14.5 cm and draw the arm opening. It looks much better now, doesn't it?


Step 9: Draw new neckline. I opted for a deep V. Measure 20 cm down the center line, make a notch. Draw a line (dashed) from the neck down to notch. Then measure that line, and make another notch, 1cm wide, 1/3 of the length down from the neck. Draw a new smooth neckline from the neck, to the notch, all the way down to the middle line. This way you get a nicer looking V, then just the straight line.


At this point I stopped drafting, even though we are not anyway near being finished, and made up a muslin. I wanted to make sure I am on the right path. It seemed to me that once I cut this pattern up more, it might be harder to troubleshoot, if things are not looking well. And I was worried about those sleeves...


But they looked good. A bit too long, especially if I will be adding a strip on the edge, but no obvious problems or weird draping. The neck will need some tightening. And the back looks good, I just forgot to take a pic.

So what next? Back to the drawing table. Tighten the neck, shorten sleeves, make the yoke and the bottom, flared part of the pattern. Muslin again.

Previous Week 6 posts:
Week 6:: Kioko blouse


10/24/11

Week 6:: Kioko blouse

Is it Week 6 already? It is, and that made me think that some sleeves are in order here. I feel I could make sleeveless tops forever, with so many variations possible, but I need to move on. However, I am not feeling sleeves this week, so I'll go with the lazy option - short kimono sleeves.


As you can see, there are many examples of the short kimono I found. I am leaning toward the last one, I like the V-neck and the cut under bust. However, I will change the bust darts to shoulder gathers, and change and lengthen the bottom part. Maybe a yoke? We'll see. 

I already chose fabric I will use. But that might change too.