Showing posts with label Marina top. Show all posts

2/18/12

Challenge 11:: Marina top:: finished

Marina. 

I don't know whether it was the lighting, or just the fact that this dark blue makes a big contrast against the white background, but this was hard to photograph. And I am no expert. This is the first time I had to modify the pictures a bit. Just a bit.


I used a piece of fabric from my stash. I am still keeping with the promise (you know the one I would not buy anything until I absolutely have to. The definition of "absolutely" is a little... vague...)


I really like this fabric. It feels silky; it is on the thicker side though - you could easily make a skirt out of it. Or a dress. Not sheer at all. I don't think it's silk though, probably some made-made fabric. But it really feels good. It is not slippery and I did not have any problem sewing it. (I had this nightmarish experience recently with pure silk. My machine just would not sew through it. I could not figure out why. I changed needles, tension, thread. Nothing. I ended up serging anything I could. Everything else I sewed by hand.)


The fabric is dark blue with some leaf (?) pattern. It ironed perfectly, and does not wrinkle much. I barely had enough for this top (I had to cut the back from two pieces, so I ended up with a back seam, and the bow collar ended up not as wide as I planned). 


The reason I had so little of the fabric is that actually I have used it before. For a top I really liked. Then I washed it. I know, I should have washed the fabric before, which I usually do with my cottons and linens. But this time I wasn't sure if I should wash this. And then I did - after! sewing it. And it shrank so much, and it completely changed the feel, I had to toss it. So I know for sure this is dry clean only.


As you may have noticed, I do not have a pattern piece for the bow collar. It is simply a straight piece of fabric - I think I cut it about 12 cm wide and as long as the width of the fabric. You can also cut it on a bias, but I did not have enough fabric for that.


Since there is no buttons in the front I could not really sew the bow all the way down to the bottom of the V neck ( Also, it would not tie nicely). So I sewed it down about half way from the shoulder. You could wear it tied or not. If there is an interest I will write up a little tutorial to show how you sew this.


Overall I like it. The arm openings are a bit deeper, so if I make this one again I will redraw them without the 2cm drop down the side seam. The top has a lot of ease but I like that with this design. 

Some techniques you might find useful:

Previous Challenge 11 posts:


2/14/12

Challenge 11:: Marina top:: muslin

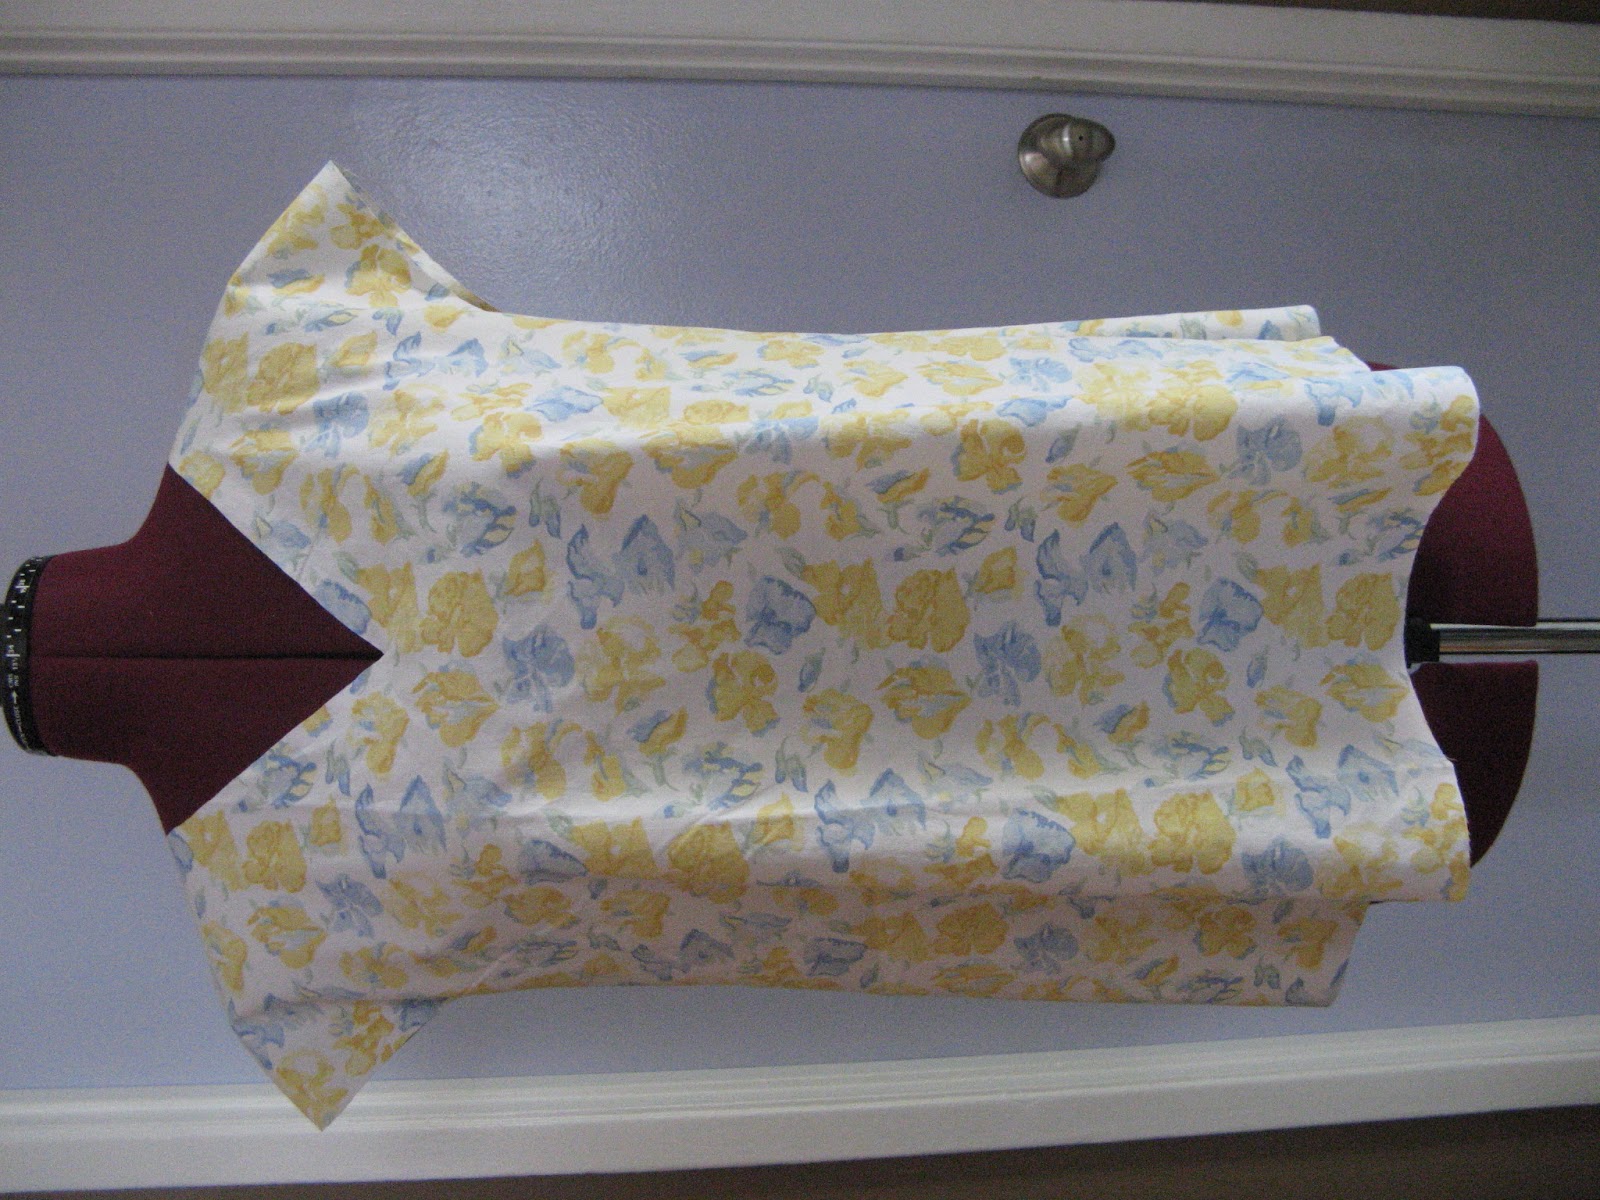
Here it is (looks a little like a nurse's top, but that's just the fabric). Pretty much as expected. No surprises, which is good.


The only thing I will change is to shorten the shoulder seam by about 1 cm. Right now it looks a little pointy at the top.


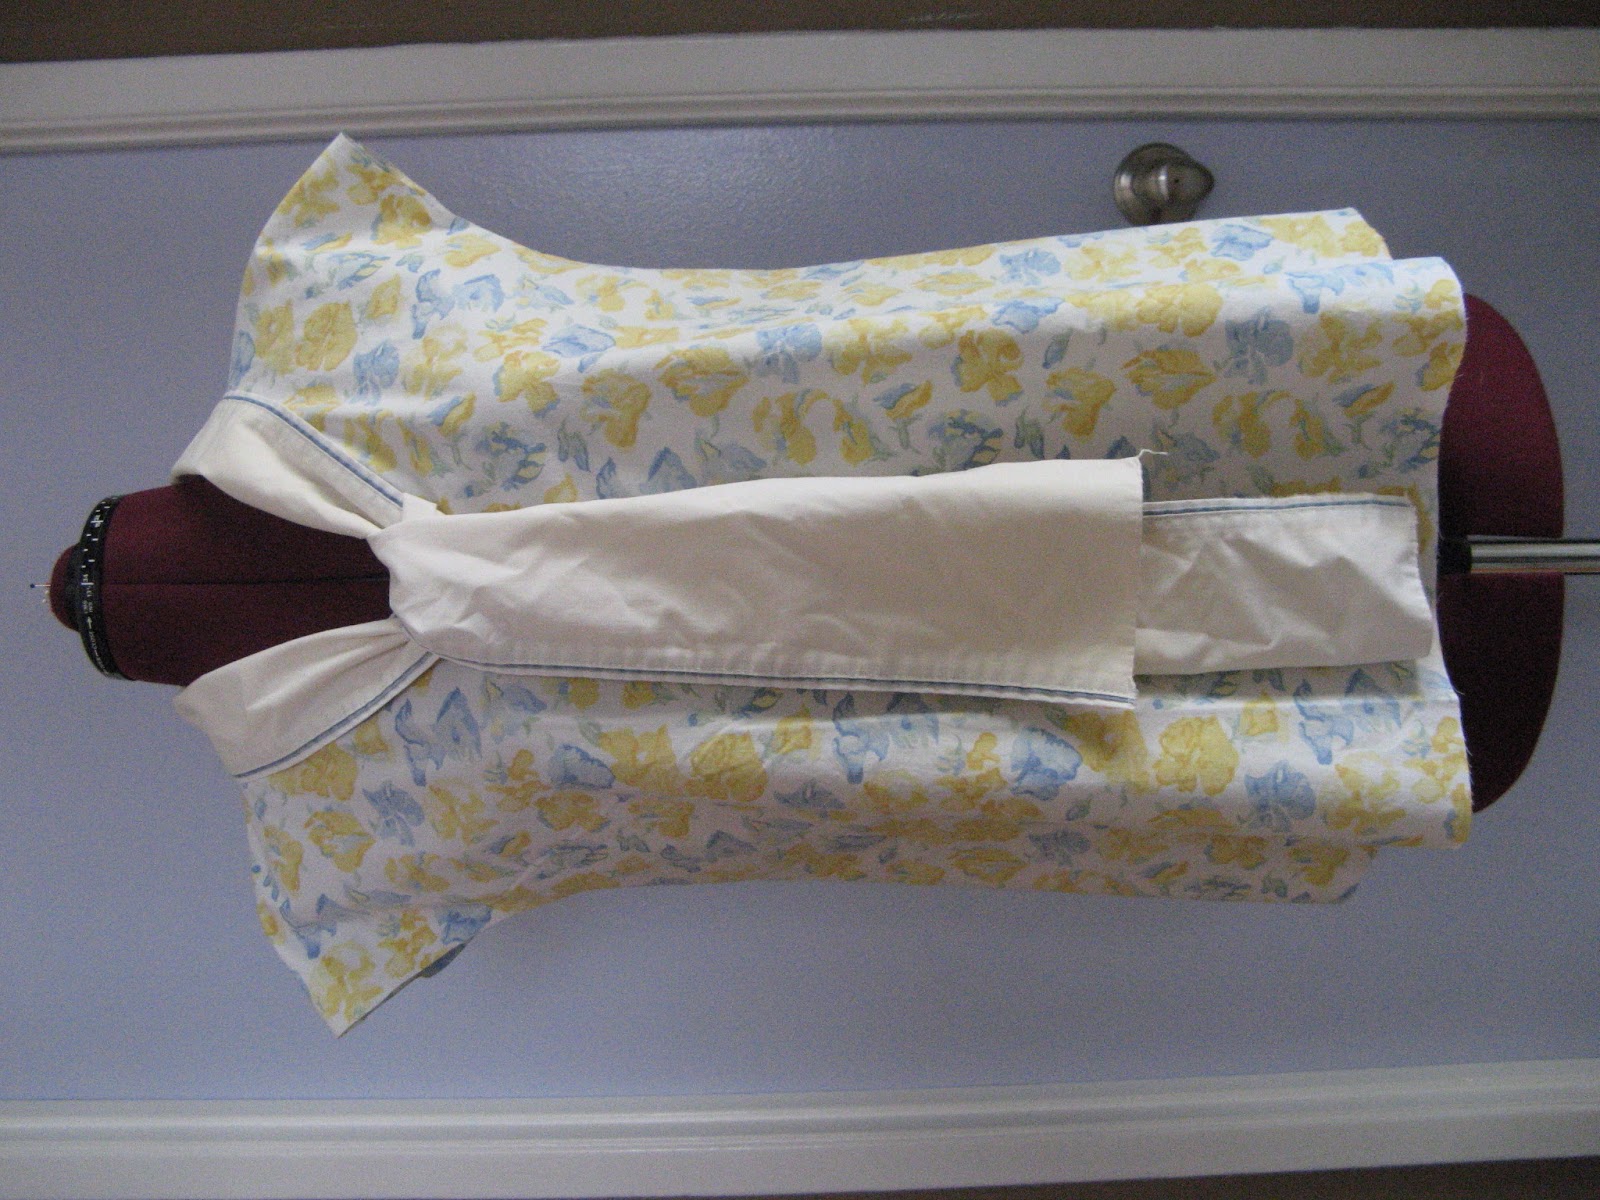
This is what it looks like with the bow collar. Not bad. What a difference from the first pic. This "bow" is actually a top hem of a different thrifted sheet. The final bow will not be as wide.


Am I crazy to think this top, as is, looks cute? Should I finish it, or just put it in the "muslin" pile? 

Next: finished top.

Previous Challenge 11 posts:


Challenge 11:: Marina top:: drafting

So, in this Challenge, we are going to be modifying the Basic Block 1 (on the left) to get the pattern for the top on the right. 


As in the previous challenge, I printed and cut out the pattern for the Basic Block 1. There are two pieces, as shown below (remember, the pattern does not include seam allowances):


This time however, since we need to draft the french sleeve and move all the darts, instead of modifying these two pieces, we will trace them on separate piece of paper.

So, for the back (see the pic below on left), draw a line from the tip of the dart down to the hem. Place the pattern on a paper and trace from the shoulder dart (from the left dart leg) counterclockwise all the way to where the line from the dart hits the hemline. Then rotate the pattern counterclockwise until the right shoulder dart leg aligns with where you started to trace (where the left dart leg used to be). Then continue tracing from where you stopped (on the pattern) counterclockwise all the way around to where you started. This way you trace the pattern and move the dart at the same time. For more details see the Week 1 challenge.


Similarly in the front... Draw a line from the BP straight down to the hemline. Then trace clockwise from the top dart leg, around the pattern to the point where the line from BP hits the hemline. Then rotate the pattern clockwise until the bottom bust dart leg hits where you started tracing, or where the top dart leg used to be before rotating the pattern. Trace from the hem clockwise around to where you started. This was, as in the back, you moved the dart at the same time as you traced the pattern. More details in Week 1 challenge post (the only difference is the position of the bust dart, but everything else is the same).


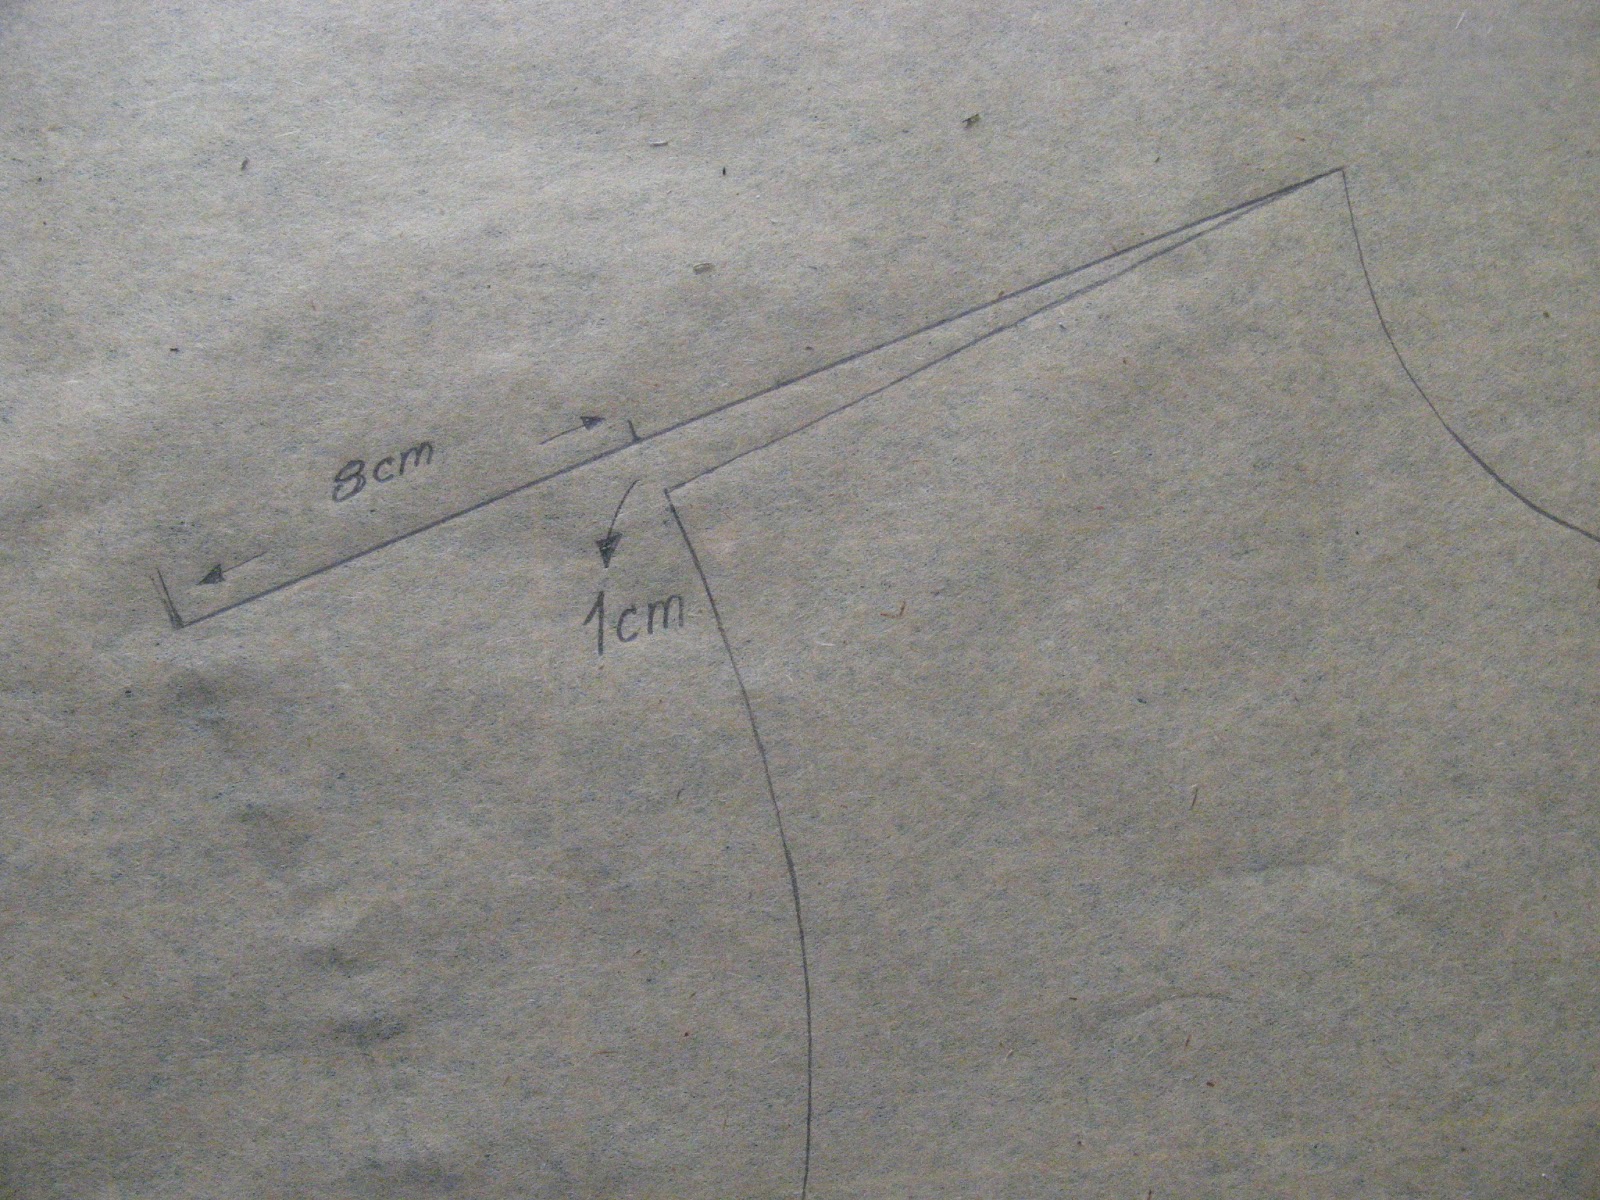
Now the sleeves... In the front: redraw the shoulder from the neck point to about 1 cm above the shoulder point. Then extend by 8 cm (see pic below).


In the back: the arm opening is already wide enough, so just extend the shoulder line by 8 cm.


Then, drop the new shoulder point (the end of the shoulder seam) by 0.7 cm on both front and back and redraw and smooth the shoulder line as in pics below. Also, drop the under arm point (the start of the side seam) by 2 cm. I also moved the under arm point out by 0.5 cm, just to make the arm opening curve smoother at that point (where the under arm curve and the side seam meet). Then redraw the sleeve openings. This took a bit of trial and error. The french curve did not work, so I had to do this by hand. One important point, the sleeve curve should be perpendicular to the shoulder seam at the point where they meet. 


Finally - the neckline. I chose a V-neck, not too deep. I am not going to tighten it this time, because it is not that deep, or wide, and there will be the bow collar. Hope it works. So... measure 5 cm from the neck point on the shoulder seam, and 12 cm down the center line. Connect these two points with straight line. The neck curve should "go" about 1 cm to the left of that line, at about 1/3 of the length of the neckline (see pic below). This makes the V-neck lie flatter.


We will also need facing to finish this neckline so I drew it on this pattern too. When it comes to cutting the fabric, I will copy the facing on a separate piece of paper. I chose the facing to be 3 cm wide (remember, no seam allowances here). At the bottom of the V-neck, measure 3 cm and then curve the facing slightly to the tip (see pic above).

Finally, change the neckline in the back: 5 cm from the neck point on the shoulder, 3 cm down the midline. Also, draw in the facing.


Now you are ready to cut the patterns out and check the continuity of the neck and sleeve curves across the shoulder seam. As you can see, I had to redraw the back neck and facing a bit, but the arm opening were fine (not shown here).


Next... the muslin.

Previous Challenge 11 posts:

Challenge 11:: Marina top:: intro

This week we are continuing making simple sleeveless tops using the basic block 1 pattern available here.
Marina top
Basic block 1


This one is another relatively simple modifications. We will move the darts into the hem, to get the full A-line design, and reshape the neckline. As for the sleeves... even though the sketch shows a dropped shoulder sleeve, I decided to do a french sleeve. The bow collar does not need any drafting... it is a simple rectangle. We just need to figure out how long/wide it needs to be and how to attach it to the top. That's it.


Next: drafting.