Showing posts with label muslin. Show all posts

6/17/12

Challenge 15:: Gima tunic:: drafting sleeves, muslin

For this top I wanted a narrower sleeve, but not too narrow. I don't really care for narrow sleeves myself. I have a really wide back (always had, no matter what size I was) and I need that additional room in the sleeves. Otherwise tops are always tight around my upper back if I move my arms and I absolutely hate that. So, not so tight, but narrower than the Rossa shirt.


So, I used the same method to draft the sleeve as for Rossa shirt, except that I used a higher sleeve cap (see picture above -> sleeve cap is 2/3 of AB; Rossa shirt sleeve had 1/2 AB) and I drew the sleeve closer to the bodice - this might be clearer from the picture below (this is the back).


Compare the above picture with the one I did when drafting Rossa shirt sleeve - the difference is that when you extend the shoulder line by 8 cm, you draw down 4 cm, instead of 2.5. This will make the angle of the sleeve bigger and the sleeve "closer" to the bodice. Then you draw the sleeve curve the same


Repeat for the front, same as the Rossa shirt, with modifications as for the back. 


This is what the sleeve looked like after the first draft. I thought that the front lookes a bit too low, so I adjusted the curve a bit.


This is the final pattern for the sleeve. 


I was feeling confident about the bodice part of the pattern, so I cut it out from the fabric I chose for this tunic, not the muslin. I figured I might have to take it in a bit, but it shouldn't be too tight. And I was right. It was too wide, so I took it in a bit and shaped it a little more at the waist. 


I was a bit worried about the sleeve though. It looked a bit weird, the pattern. But look here, it fit just perfect!


So now onto the finished top...

Previous Challenge 15 posts:

5/15/12

Challenge 14:: Rossa shirt:: muslin and modifications

So... here is the muslin. Again, thrifted sheets came in handy. Cutting the fabrics is not my favorite thing - unlike cutting for quilts which I find therapeutic - so I decided not to cut  the collar or the button placket. I just wanted to try the overall fit. I was actually pretty confident I will not have any major problems, as in previous challenges, and I decided to wing it with the collar - which is one thing I haven't done before. And, the collar can be easily redesigned without the need of changing any other pattern pieces.

It really did fit well. Not perfect though. I found it a bit too short and hem, well, a little bit boring. The sleeve was too long but fit very nicely. The neckline was fine. I did find it a bit boxy, so I decided to taper it in slightly at the waist - this is a loose fitting shirt after all. And to lengthen it a bit and add a bit more width at the hip - not that it was tight or anything, I just thought it would fall more nicely. That's about it. I had no idea how to finish the sleeve at this point, I just knew it would be long...


So, in the front, at the waist I took in as much as I added originally, so that it was as wide as the basic sloper. I added 2 cm at the hip and lengthen the front by 1 inch. I also decided to have a little opening on the side - 10 cm, so I drew that in too.


Instead of simple hem finish, I decided to do a decorative band along the hem, so I drew that in too (in red) - I later copied that part because it will be cut separately.


In the back, same as in the front, I made the waistline as wide as the basic sloper and then I added 1 cm at the hip. I added 2 more inches to the length to make the back a little longer than the front. To match the side opening, I matched the front and back pattern pieces - see pic on the right below.


I copied the hem piece on both front and back...


And when I finally cut all the pieces out this is what I had...


And now onto the finished piece...

Previous Challenge 14 posts:

3/1/12

Challenge 12:: Blomma dress:: muslin

This was really easy to cut and I think this will be a relatively easy dress to make. Well, there will be some bias tape making... a lot of it, for the straps. But otherwise, easy peasy.

I knew that the back would be too wide - it is made from a pattern that has ease, after all. So I will simply put some elastic into the back, probably under the bias tape. In the pic below, I pinned the dress on the form to see how it would look. Fine.

As this is a dress without closures of any kind, and you need to be able to pull it over your head, there needs to be ease. This could also be made without ease, but then you would need a side zipper. 


I didn't have to make any changes - I was worried whether it would be too boxy but I actually like the shape. I will make one slight change... with the top "ruffle" (please help me, is there another name for it?) - I will make it even thinner on the left side (see pic below) so that the bottom one is more visible. RIght now you can barely see it.


The "ruffles" are a bit different than the inspiration picture. They are a bit more "ruffly" - but that works with this type of a dress, me thinks - but also a bit shorter. So I couldn't really do tree layers, as I planned. The reason they cannot be longer is that this dress has darts and some waist shaping, so longer ruffles would not look so good. Neither would shorter. So, two layers it is.


Ok, now lets finish it up.

Previous Challenge 12 posts:
Challenge 12:: Blomma dress:: intro and drafting


2/14/12

Challenge 11:: Marina top:: muslin

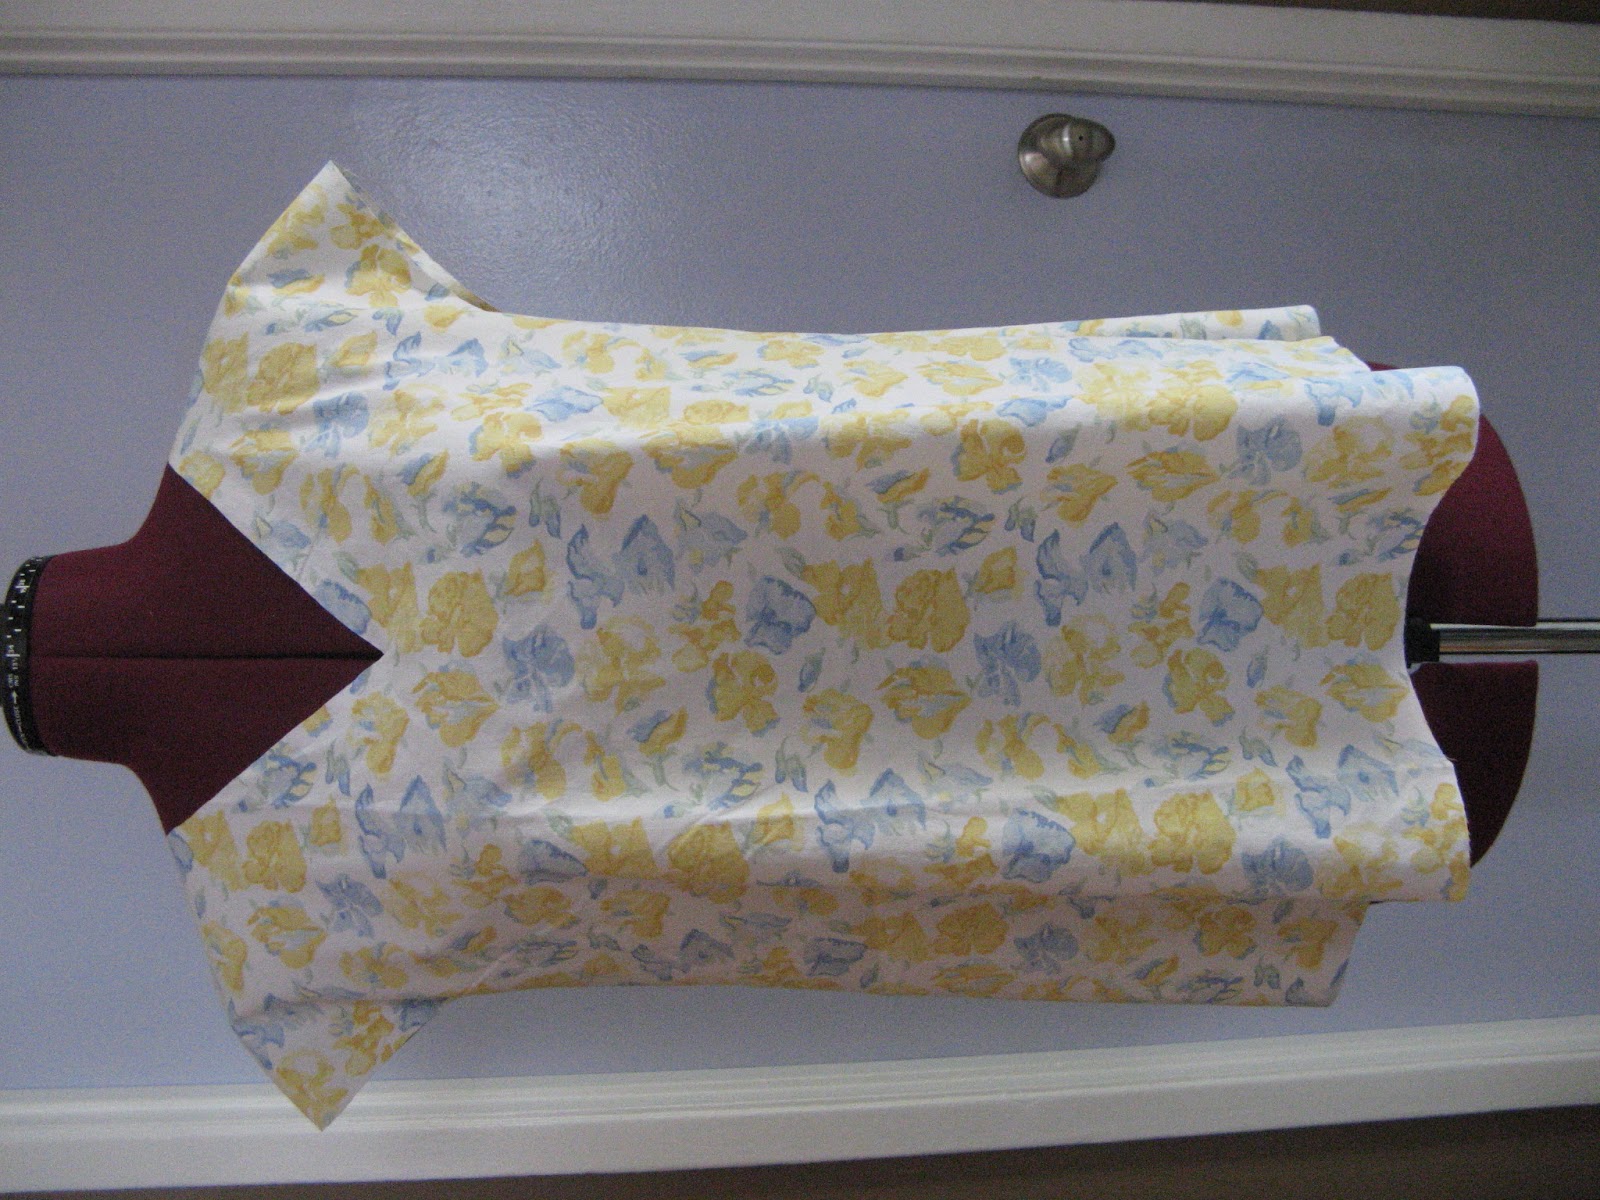
Here it is (looks a little like a nurse's top, but that's just the fabric). Pretty much as expected. No surprises, which is good.


The only thing I will change is to shorten the shoulder seam by about 1 cm. Right now it looks a little pointy at the top.


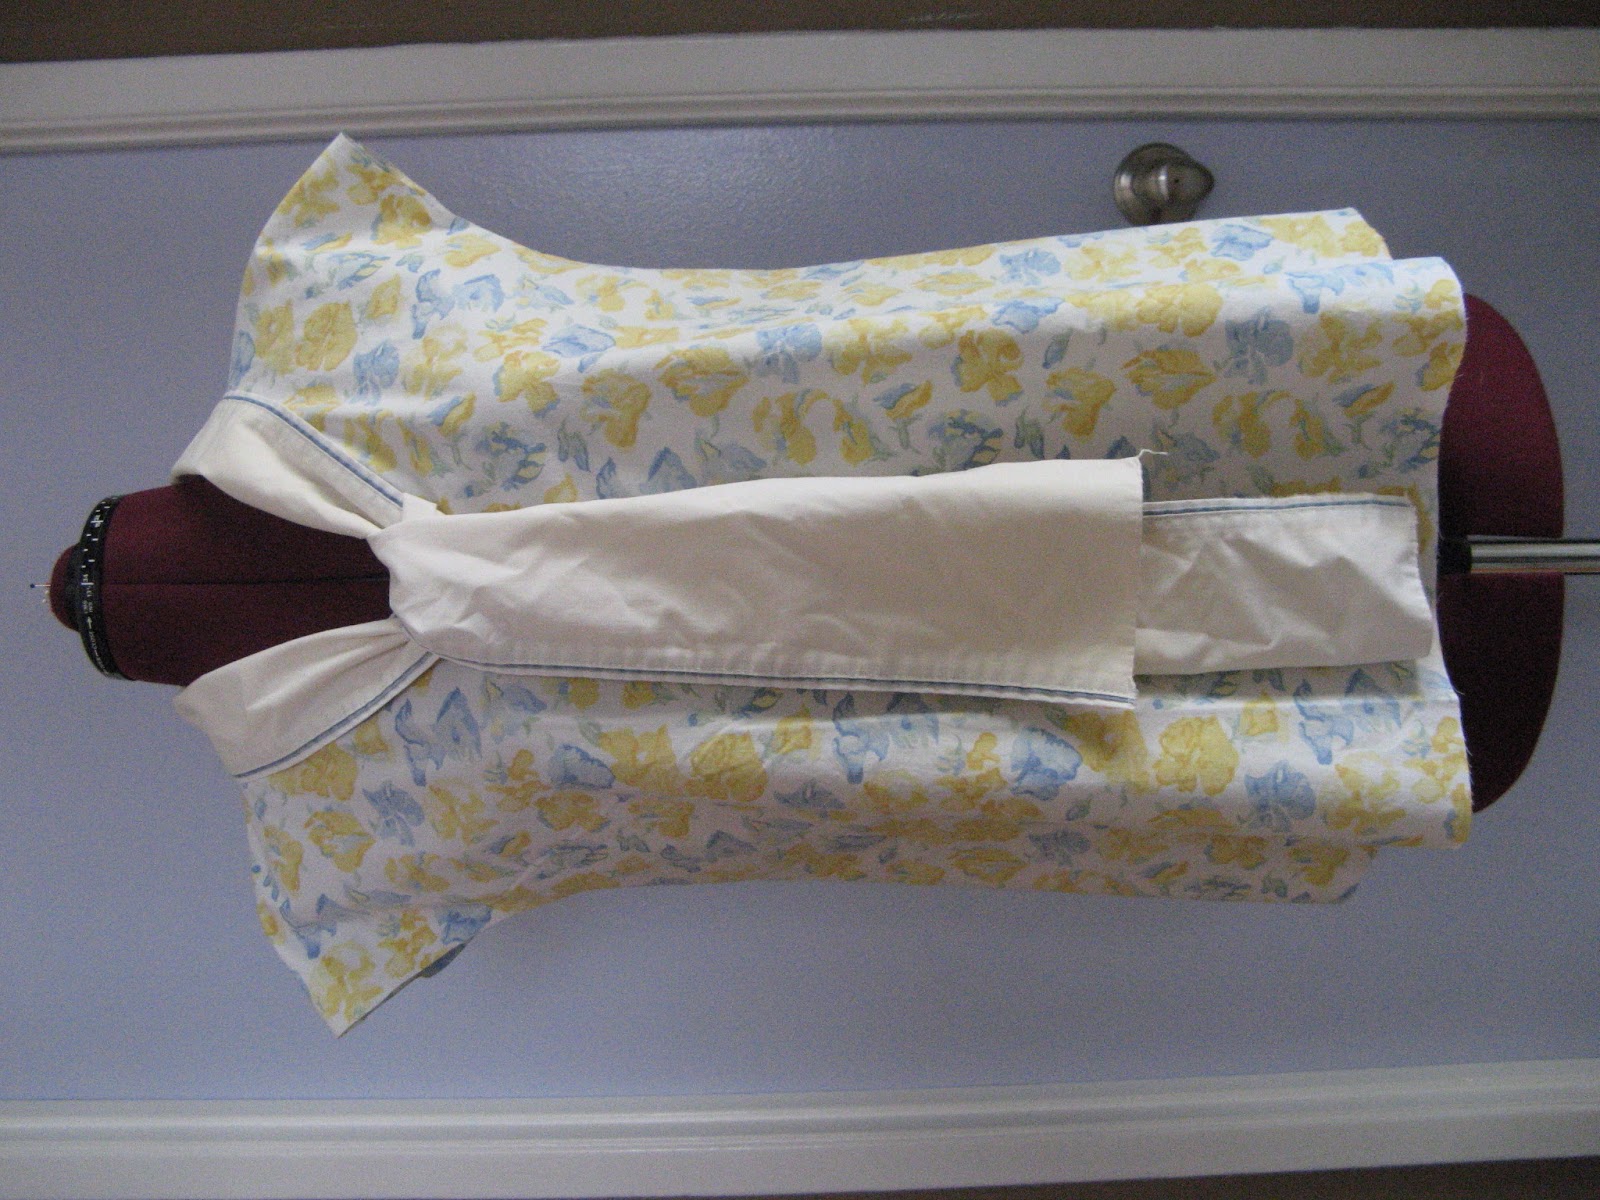
This is what it looks like with the bow collar. Not bad. What a difference from the first pic. This "bow" is actually a top hem of a different thrifted sheet. The final bow will not be as wide.


Am I crazy to think this top, as is, looks cute? Should I finish it, or just put it in the "muslin" pile? 

Next: finished top.

Previous Challenge 11 posts:


2/6/12

Challenge 10:: Editt:: muslin and modifications

A thrifted shirt makes a very economic, but not necessarily sightly, muslin. This choice also posed another problem: this fabric was a bit too stiff for this top, but I was not going to cut another one, so I had to use my imagination and hope for the best.


The fit was mostly OK: the shoulder and the front gathers, the overall drape. But I felt it was a bit too wide around the bust. 


When I cut muslin I do not include seam allowances for the neck/arm openings for sleeveless tops with a simple neckline (no closures or collars). That way I can see the final size, without finishing them.


I did just one small, simple modification: I took in 1 cm on the side seam on the back, not the front. This is what the muslin looks like after the modification. A little less width at the bust.


This is what I did on the pattern - simply redraw the side seam 1 cm in. I also reshape the arm opening a bit. That's it.


Next, the finished Editt top...


Previous Challenge 10 posts:


1/27/12

Challenge 9:: Ulla top:: finished

Finished! This might not be 'oh so very exciting', because as you might notice, Ulla top is basically the same as the basic sleeveless top made back in Week 4. But this time, I did not draft it from the basic sloper, I used a basic block I created. 

(Just a side note. I use sloper/block interchangeably, and it might be a bit confusing - and sometimes it is for me too. But let me give you a definition a found in Concepts of Pattern Grading by Moore, Mullet and Young (underlining by me):

"The most simplified pattern consists of a set of basic slopers, which contains the minimum number of pattern pieces required for a fitted garment, with minimum ease and no seam allowances."

"Basic blocks are a set of pattern pieces for a style category such as a princess dress or an A-line skirt. They are free of fashion details and usually contain only the major pattern pieces without finishing details, such as facings and pockets."

So the pattern I have created and used to make Ulla, falls under the "basic block" category. Because it is more than the sloper since it is of a particular style (this one is slightly A-line bodice with some extra ease - so that it can be used for pull-over type of garments). In each of the challenges, we will add different fashion details, to create a different garment.

In this particular case, all we did was change the neck and arm openings to create this simple top. For drafting details see the previous post.

Here is the muslin. No problems, fits as expected and no changes to the pattern are needed.


The fabric I chose for this particular top was this floral - it is very light, crinkle gauze (I am sure this has a proper name), which I bought at Jo Anns many years ago (I am keeping with the promise to use fabric from my stash before buying new). It felt like cotton, but it did not iron like cotton. Iron? Yes, I ironed it lightly because it had transverse wrinkles since it sat folded for a looong time. Otherwise I would not iron it. 

I have never worked with this type of fabrics before and I was worried about a few things - how am I going to trace the pattern with my marking pen? it's crinkled, it's going to move around...; how am I going to prevent it from stretching while sewing, especially around the neck and arms? So I decided to line it.... I don;t know if this is really lining, but I basically cut two layers - the bottom one in non-stretchy cream cotton (actually it's the muslin; I made this decision before doing the muslin, and I was confident that I will not have any problems, so I chose a fabric I could use in the finished garment) and the top one the print fabric.


And... here it is. The print fabric was tricky, but having the bottom layer really helped, because I knew what the finished dimension is, so I didn;t have to worry if I am stretching the fabric or not. I had to iron it a couple of times - when I did the darts and after I finished sewing around the neck and arms, to have it lay down. After that I had a minor panic attack. The fabric got all bent out of shape. But then it settled, and this is what it looks like now.


I serged the hem. I like it on these kinds of sleeveless tops made of light airy fabrics.


The pattern modifications I did to get from the basic block to this pattern were a bit different from what I did in Week 4 when I started from the sloper. At some point I thought this would come out wider in the bottom, more A-line. But it didn't.


I am really happy how it turned out. And it was simpler to make than the original one (in Week 4), which was the goal. 


This is a very simple top to make. You don't have to make it in two layers. You could use bias tape to finish arm and neck openings (like I did in Week 4), or a facing. 

Some techniques you might find useful:


Previous Challenge 9 posts:


12/5/11

Challenge 8:: Steva Dress: muslin

Here it is. It fits just how I wanted it to fit. But I wasn't surprised. Not that I am bragging here, it is just that the bodice of this dress is basically the same as the Week 4 top, and the sleeve fit was tested in the last challenge. So I expected no surprises. The bottom of the dress would not change the fit, and neither would the slit neck (which is the reason I did not do it on the muslin).


Darts are fitting nicely.


The sleeve and the back... good too.


I am almost done with this dress - I only have to put in the sleeves. And I like it a lot. The reason I have not finished it yet is because I was thinking about this little project of mine and it seems that I am going to change it up a bit. I am still figuring out the details, but I will give you the details probably later this week. But before that I will show you the finished Steva dress.

Previous Challenge 8 posts:
Challenge 8:: Steva Dress: intro and drafting

10/14/11

Week 4:: basic sleeveless top: fitting and pattern modifications

My plan was to do these 'fitting and pattern modifications' posts by Thursday so I would have Friday to finish up... But this time, completely unexpectedly, fitting and pattern modifications took long, very long. At one point, yesterday, I was completely stumped; I thought I would not be able to figure out what what going on...

Let's start from the beginning...

I cut out both Version 1 and Version 2, just for comparison... Just as a reminder - Version 1 had a wider bust dart, Version 2 was a little wider at the hem - these differences were due to different dart manipulations, see previous posts for details).

First surprise was that Version 1 actually fit better (without any modifications). I expected the dart to be too pointy. And both were too wide - even with that 1 cm I took in on the sides of both front and back. But one thing was good - the neckline lay flat, no gaping.

Version 1
Version 2
The biggest problem were those darts. May I remind you I have no experience drafting... except for these past few weeks... But I was expecting a smaller, shorter dart for have a better, smoother, flatter fit with no wierdness in draping. But I was very wrong, just look:

Version 1 
Version 2

(At this point I will no longer talk about Version 1. I chose to go go with Version 2 and the following pics and text refer only to Version 2).
If you click on the Version 2 pic, you can see that the dart seems to be 'pointing' in the wrong direction, and the drape is all wrong which you can see in both the side and front view above.

At this point I took the muslin off, and started making changes - to the dart, taking more of side seam in... taking in at the shoulders... but nothing worked. Here is where I felt stumped. What is going on? Where is the problem?

The first problem I found was not a problem with the pattern, the problem was in how I was transferring the pattern onto fabric. I missed the tip of the dart. No wonder it was pointing away from the BP. But that still did not fix the problem. I tried making it even shorter. No. I tried making it a little longer. No.

Then I took out the bodice I made a few weeks back, and put the muslin over it. I thought it would help me see better where the problems were. And it did, especially with the dart since it was now easy to see where BP was. Then I sewed the dart all the way to BP, no shortening. And I added more on the sides. And finally I had something I liked. (there were so many steps, so many changes, I could not take pictures of all)


On your left is the side with the modifications I mentioned above. The right side is without modifications. Here are the closeups:


This one fits very nice, and even though the dart is closed all the way to BP, it is not too pointy, it actually makes the side of this top drape very nicely.


But the shortened dart... Even though I fixed it's position, and it was pointing the right way, the fit was all wrong. Can you see it? It seems it would better fit a bigger bust. I still don't know why this is? 

Anyway... I was happy with the fit so I transferred the changes onto the paper pattern. The side seam - I took 1.5 cm at "high waist" about 10.5 cm down the side seam, then connected that to the top and bottom of side seam. It has more of an A-line than my original idea, but I liked the way it turned out, so that's the way I am going to leave it...


And now onto the finished top...